Shower Niche Planning in Granbury: Size, Placement, Tile Layout, and Storage Tips
A shower niche seems like a small detail, but it can make a big difference in how a shower looks and works. Done well, it gives you built-in storage for shampoo, soap, and daily essentials without cluttering the floor or hanging a caddy from the shower head. Done poorly, it can feel awkward, collect water, or interrupt the tile layout.
For Granbury homeowners planning a shower remodel, the best time to think about a niche is early, before tile is ordered and before wall framing is finalized. At Countertops & Floors in Granbury, we help homeowners compare bathroom surfaces and layout choices so the finished shower feels practical and polished.
Why shower niche planning matters
A shower niche is built into the wall, which means it affects framing, waterproofing, tile layout, and storage. It is not something to decide at the last minute after tile work has already started.
A well-planned niche can:
- Reduce shower clutter
- Keep bottles within easy reach
- Improve the overall design
- Create a cleaner look than surface-mounted storage
- Add function without taking up floor space
If your project includes a full shower update, our shower remodeling experts in Granbury can help you plan niche location, tile style, and storage details before installation begins.
Standard shower niche sizes and custom options
There is no one perfect niche size. The right dimensions depend on what you store and how the shower wall is framed.
Common niche sizes:
- Small vertical niche for soap and a few bottles
- Wide horizontal niche for a cleaner modern look
- Tall niche with a shelf for separate storage zones
- Double niche layout for shared showers
A practical starting point is to measure the tallest bottle you actually use. Many homeowners forget this step and end up with a niche that looks good but cannot hold daily products comfortably.
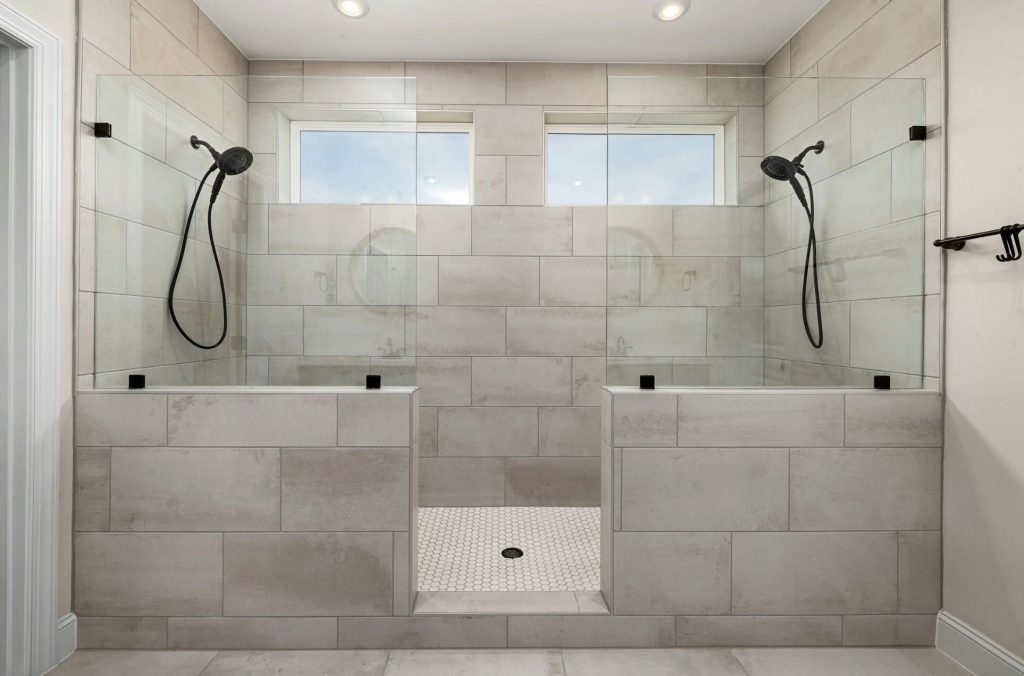
Best shower niche placement
Placement affects convenience and appearance.
Good placement goals:
- Easy to reach while standing in the shower
- Away from the direct spray path when possible
- Positioned where the tile layout can look balanced
- Not placed so low that bending becomes annoying
- Not placed where plumbing or framing makes installation harder
Common niche locations include:
- The wall opposite the shower head
- A side wall near the shower controls
- A wall that is less visible from the bathroom entrance for a cleaner view
If you want the niche to be subtle, place it where it is useful but not the first thing you see when entering the room. If you want it to be decorative, it can become part of the feature wall.
Tile layout tips for a cleaner look
Tile layout is one of the biggest reasons to plan the niche early. The niche should feel integrated into the wall, not like it was squeezed in after the tile was chosen.
Tile planning tips:
- Align the niche edges with grout lines where possible
- Avoid tiny tile slivers around the niche
- Decide whether the niche back will match the wall tile or use an accent tile
- Use trim or finished edges that match the tile style
- Consider a slab or solid shelf for a cleaner horizontal line
If you are still choosing tile, this guide on Granbury’s best tile choices for long-lasting, stylish showers can help you compare options before finalizing the niche layout.
Storage details that make the niche more useful
A shower niche should match real routines, not just a photo.
Useful planning questions:
- How many people use the shower?
- Do you need space for tall shampoo bottles?
- Do you want a separate shelf for soap or razors?
- Will the niche hold kids’ products or guest items?
- Do you prefer hidden storage or a visible design feature?
For shared showers, a taller niche with a shelf often works better than one small opening. For guest bathrooms, a simple niche may be enough.
Waterproofing and slope considerations
A niche adds corners, seams, and a horizontal surface, which makes waterproofing especially important. The inside of the niche needs to be protected properly so moisture does not move into the wall.
Important details:
- The bottom of the niche should slope slightly toward the shower so water drains out.
- Corners and seams need proper waterproofing.
- The niche should not be installed in a way that creates water traps.
- Tile edges and shelves should be finished cleanly.
Waterproofing is not the most visible part of the project, but it is one of the most important. A good niche should look nice and perform well over time.
Mistakes to avoid when planning a niche
A few common mistakes can make a niche less useful or harder to maintain.
Avoid:
- Choosing the niche size after tile layout is already set
- Placing it directly in the heaviest spray zone
- Making it too short for daily bottles
- Using accent tile that clashes with the rest of the shower
- Skipping slope on the bottom ledge
- Forgetting trim or finished edge details
The best niche feels like it belongs in the shower design from the beginning.
How a niche fits into the remodel timeline
Niche planning should happen early in the remodel process. It affects framing, waterproofing, tile quantity, tile cuts, and the install sequence.
A simple planning order:
- Choose shower layout and wall locations
- Decide niche size and placement
- Select tile and grout direction
- Plan waterproofing details
- Confirm finished edges and shelves
- Begin installation
If you are trying to understand when decisions need to happen, this bathroom remodel timeline for Granbury homeowners explains how planning choices fit into the larger project.
Next steps
A shower niche is one of those upgrades that looks simple but works best when it is planned carefully. Size, placement, tile layout, waterproofing, and storage all matter.
If your shower niche is part of a larger bathroom project, start with our complete bathroom remodeling services in Granbury to coordinate the shower design, tile choices, and storage details. You can also visit our showroom at 300 Temple Hall Hwy, Granbury, TX 76049 or call 817-962-2657.